Why we soak our garlic before planting
Garlic Fertilization Soak Benefits Include:
- Start Fresh: Reduce the transmission of microorganisms that naturally live in garlic by sterilizing the cloves before planting.
- Plant Health: As an organic farm, our goal is to promote the health of the plant. We don't spray with chemicals to save a plant, so our goal is to have healthy soil and healthy plants from the start.
- Bulb Size: We, and many fellow growers, believe it increases the size of the bulb by giving the plant some food before putting it to bed for winter.
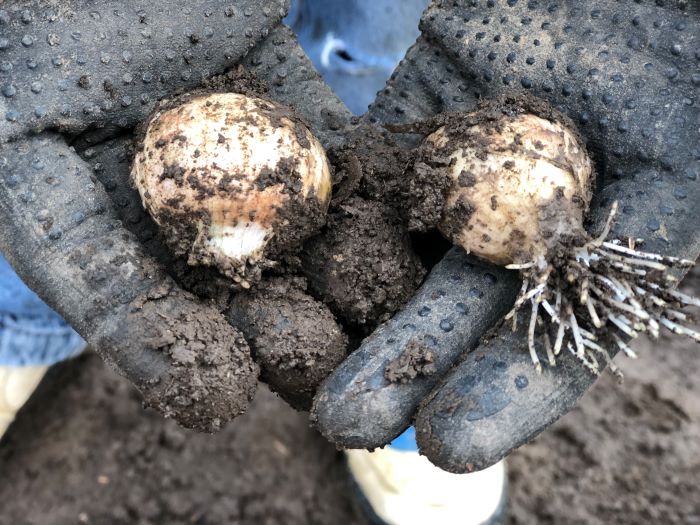
*See Photo: These are garlic cloves from the same bulb 7 days after planting. The clove on the right went through the fertilization soak and the other did not. As you can see, the roots develop much faster allowing the plant to root down and start on its growth cycle before winter sets in.
BEST PRACTICES - Keene Garlic and our community of growers grow garlic for seed stock. We always do a garlic fertilization soak before planting because we strive to provide the healthiest, best-performing garlic for our customers.
*NOTE - It is not mandatory that you soak garlic before planting. In fact, there are many successful garlic growers who omit this step. They simply plant the cloves right into the ground and still get a wonderful garlic crop.
How to Perform a Garlic Fertilization Soak
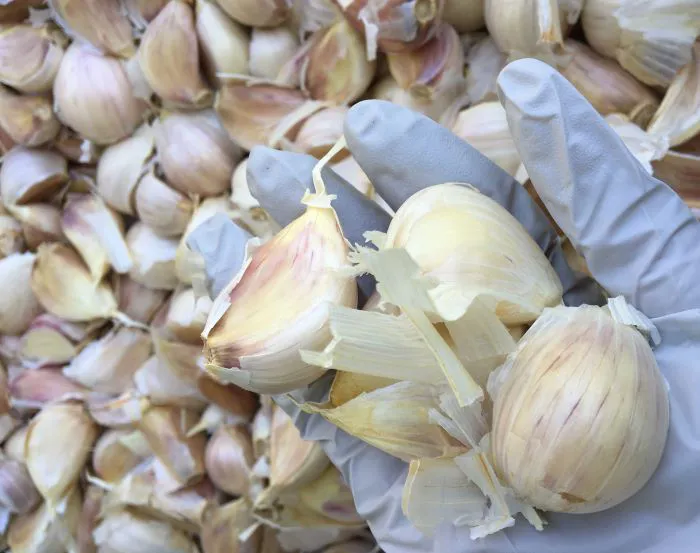
STEP 1 - Separate each clove from the bulb before planting.
***It does NOT matter if the clove wrapper is on or off the clove before planting. There are theories that support both ways. What we can tell you is, over 15 years of Keene Garlic and our growers growing garlic, we have collectively planted MILLIONS of garlic cloves. Both ways, with wrappers on & wrappers off, and guess what? We still yield beautiful, healthy, big garlic bulbs!

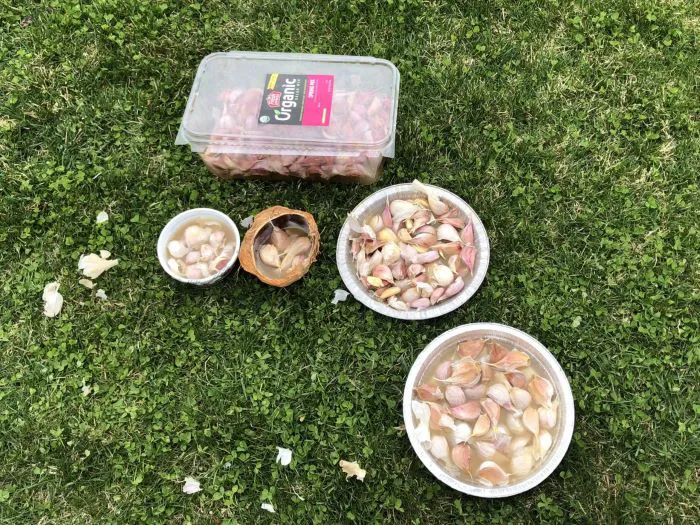
STEP 2 - Soak the cloves in a full strength sterilizer for around 10 minutes. We sterilize our cloves in many smaller batches, by variety. You can reuse the same sterilizer for all of your cloves if you collect the solution when straining.
-
- Sterilizer Options:
- Isopropyl Alcohol 70%+ (do not dilute)
- Cheap Vodka (do not dilute)
- Hydrogen Peroxide 3%+ (do not dilute)
- Sanidate (follow produce soak instructions on bottle for safe dilution ratio)
- Sterilizer Options:
*Customers have asked about using various things like bleach and such, but we don't have experience using bleach to give a recommendation. If it is cost prohibitive to use the items listed above, skip step 2, and go directly to step 4. The most important part is to give the garlic some food before putting them to bed for the winter.

STEP 3 - Strain the cloves. Save the solution and reuse if you are soaking multiple batches.
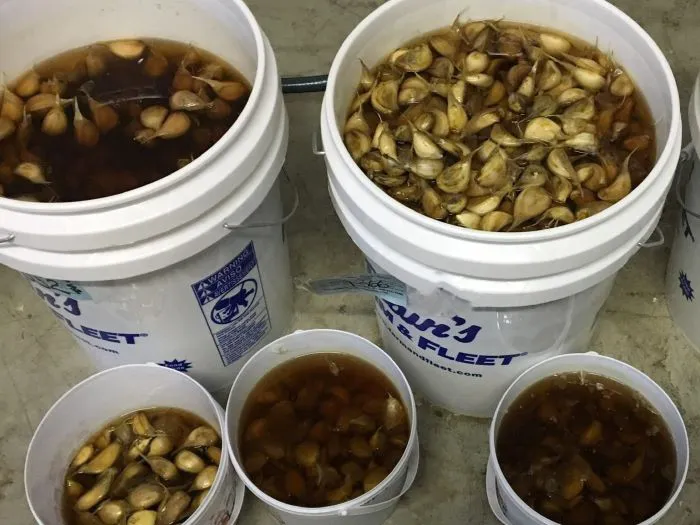
STEP 4 - Put cloves into a container with a fertilizer solution.
- Put cloves into a container with a fertilizer like fish emulsion, kelp meal, our Garlic Fertilizer or a fertilizer blend, such as our Garlic Fertilization Soak Combo Pack. (Use application rate stated on fertilizer packaging)
- Add 1 teaspoon of baking soda per gallon of water.
STEP 5 - Soak the cloves in the fertilizer.
- The cloves should soak for at least 30 minutes, up to overnight. Oftentimes we start the soak and are not able to plant the next day. We have found the maximum time to leave the cloves in the fertilization soak is 3 days. After 3 days, they may develop roots at the bottom which are very delicate so take care not to damage them while planting.

STEP 6 - Plant your garlic. See our Planting Garlic Page for more information.
