Grow Shallots – How To Plant
Growing shallots can be a rewarding experience for both beginner & expert gardeners alike. Shallots have a subtle onion flavor that is unmatched so it quickly becomes a favorite in the kitchen. Shallots have impressive storability making them an easy win for those of us who have a passion for growing our own food.
Different Types of Shallots
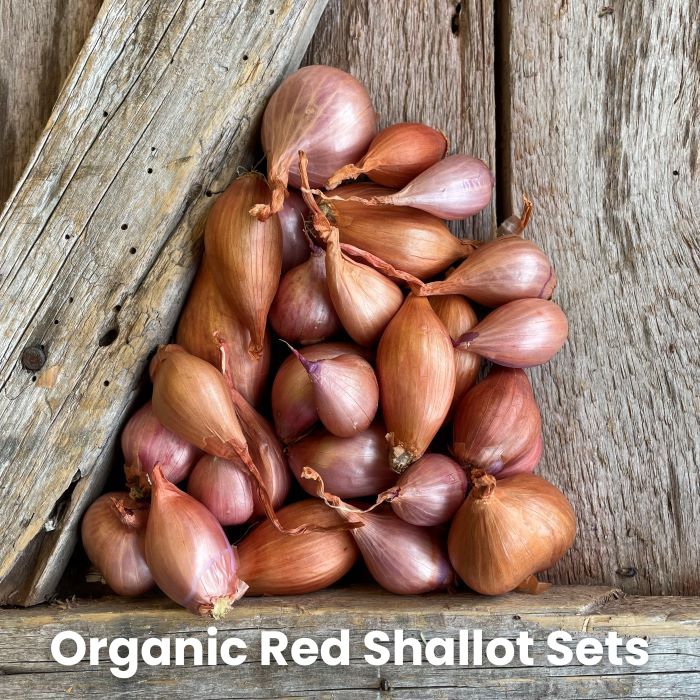
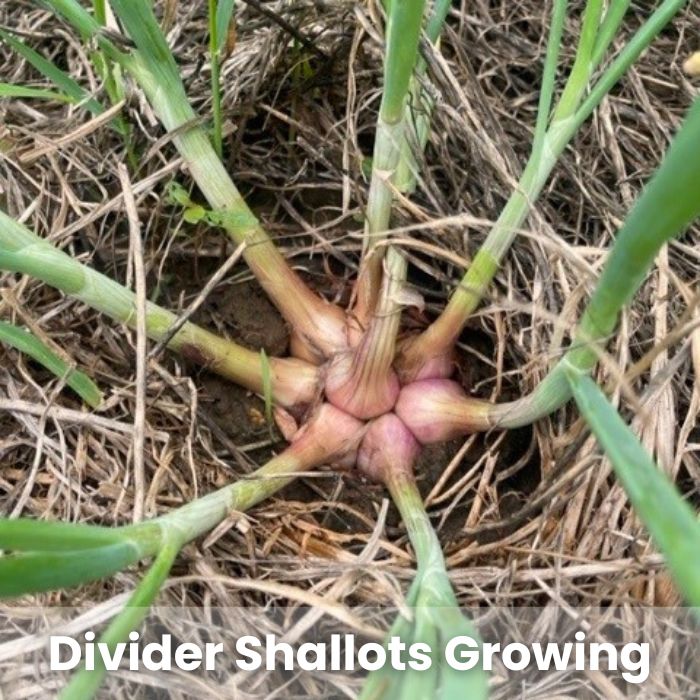
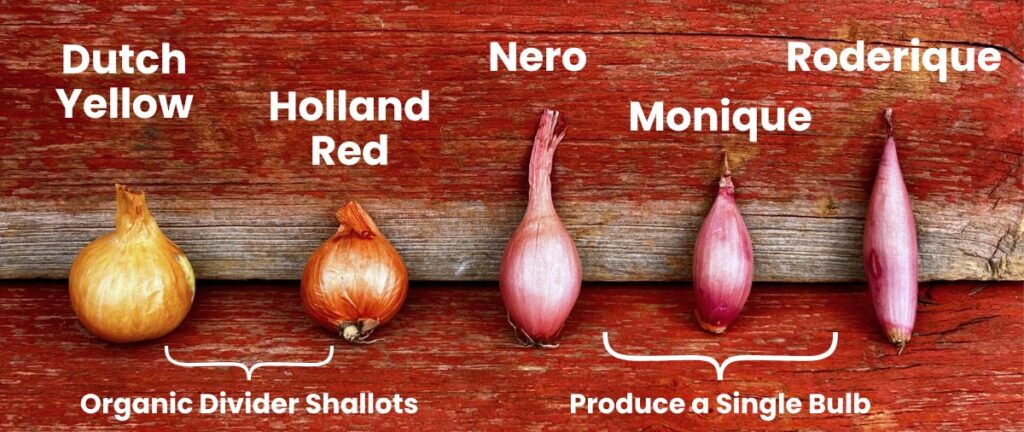
At Keene Garlic, we offer a wide range of shallots to suit every gardener’s needs. Our Certified Organic Red & Yellow Shallot Sets, or bulbs, can be planted whole in spring or fall. These divider shallots are known for their productivity—one pound can yield 2–5 times more at harvest.

In addition to these, we now carry three gourmet shallot sets—Nero, Monique, and Roderique. Unlike multiplying varieties, these sets produce a single, refined bulb with exceptional flavor, perfect for elevating your culinary creations. These specialty shallot sets are offered in the spring only.
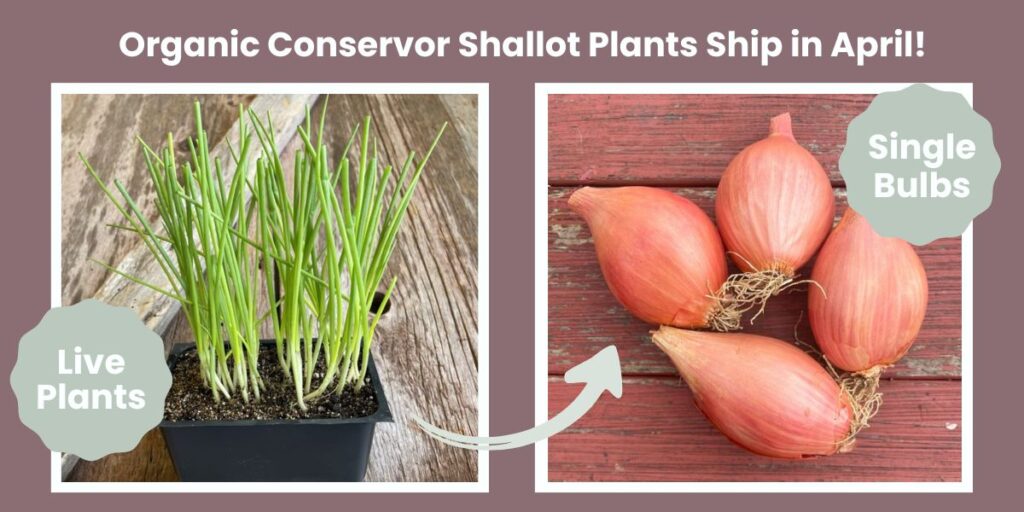
For spring planting only, we also offer Conservor Shallot Plants as live seedlings. Conservor Shallots produce one elongated bulb rather than multiple, making it a favorite among chefs for its elegant taste and presentation.
No matter which type you choose, all our shallots boast impressive storage capabilities and a delicious, versatile flavor that food lovers adore!
General Shallot Growing Information:
🌱 Planting Time:
Plant shallots in fall or spring. In colder climates, mulch fall plantings—just like garlic—to protect them from harsh winter temperatures.
☀️ Sun Requirement:
Shallots love full sun—the more, the better! Avoid planting near crops that could shade them.
🌾 Soil Fertility:
Shallots are heavy feeders and thrive in well-drained, fertile soil.
💡 Tip: Amend soil with compost and/or organic fertilizer for optimal growth.
Shallot Set Details
✔ Our Shallot Sets arrive in a netted bag labeled by variety.
📦 Store in a cool, dry place until planting time.
✅ Red & Yellow Shallot Sets available spring & fall. Specialty Shallots Sets available spring only.
🌱 Certified Organic Shallot Plants
Our Organic Conservor Shallot Plants are greenhouse-grown on small family farms in Wisconsin.
🪴 These live seedlings arrive in soil-filled containers, partially hardened off for success.
⚠️ Special Care: These shallot plants are a favorite among gardeners and farmers for their abundant, high-quality harvests. They’re more delicate than sets and need a little extra attention when they first arrive. Because shipping can be stressful, monitor tracking, unpack immediately, give a light watering, and begin hardening them off slowly for the best planting success. Although they arrive pre-hardened, easing them back into outdoor conditions with a gentle, gradual re-hardening process ensures strong, healthy growth. If you have any issues, contact us right away—we’re here to help. With proper early care, you’ll be rewarded with exceptional shallots.
📅 Shipping Window
- 📦 All Shallot Sets available late February. Red and Yellow Shallot sets also available for fall shipping.
- ⏳ Limited shipping windows for all plants.
- ✅ Organic Conservor Shallot Plants ship in April ONLY!
Shallot Planting Instructions:
Planting shallots could not be easier! Follow these simple steps to shallot success.
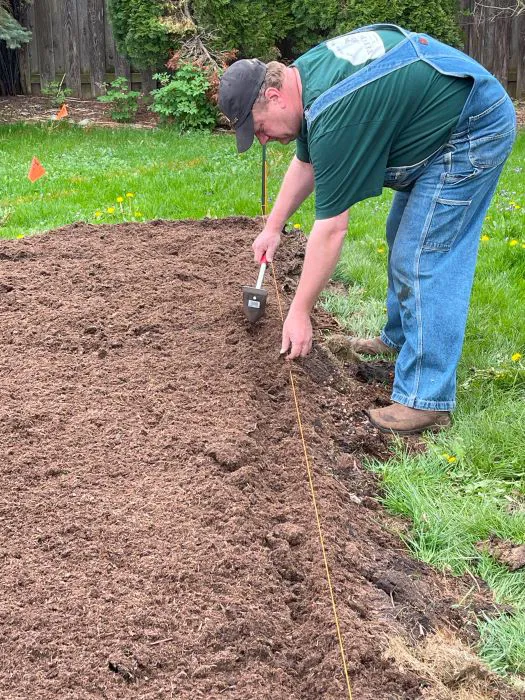
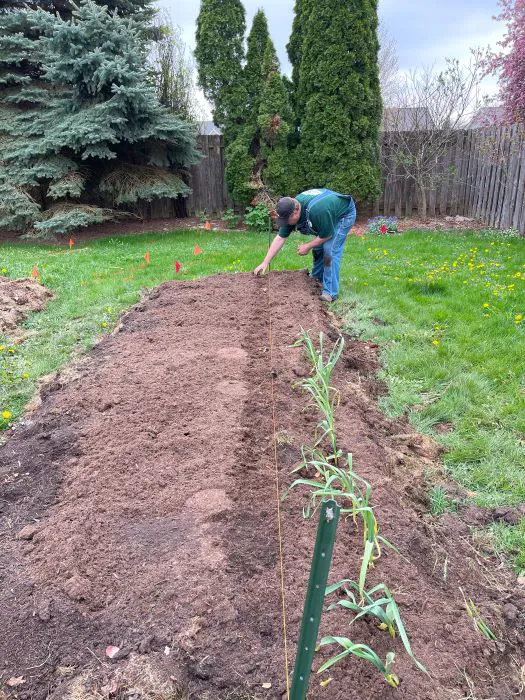
1. Prepare your soil. Break apart any shallot bulb clusters. Make a Furrow.
2. Plant shallots 4 to 6 inches apart, root side down. Rows should be 12 inches apart.
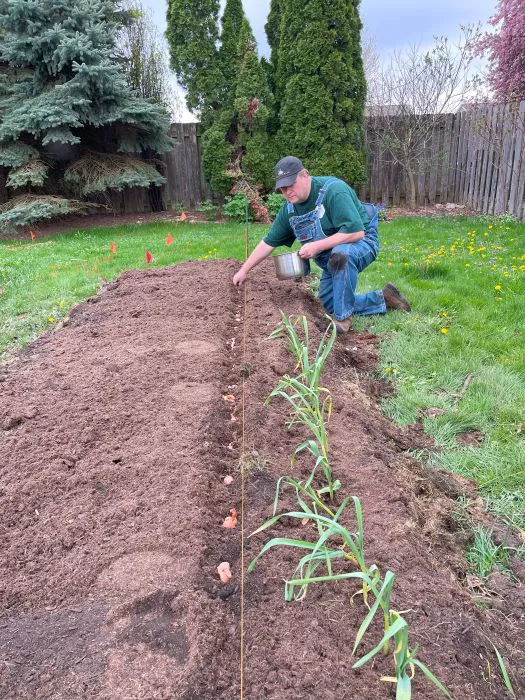
3. Cover the shallot bulbs with soil so the tops are just slightly visible.
*For Shallot Plants: Plant root side down, Cover the bulb portion of the plant ~2 inches, leaving the green top exposed.
Mulching
- Fall: Shallots planted in the fall will need to be mulched 4-6 inches for winter protection, much like garlic.
- Spring: Shallots planted in the spring will also benefit from a light mulching. This protects them from temperature fluctuations & helps keep the soil moisture level more consistent.
- What to Use: Straw, grass clippings or chopped leaves; whatever mulch is readily available to you. Mulching helps keep the weeds down and adds organic matter to the soil as well.
Watering & Weeding
- Water thoroughly after planting to a level that is moist but not saturated.
- Keep water consistent throughout the season. Shallots like ~1 in. of water per week.
- Shallots do not compete well with weeds. Keep your shallot bed well weeded for optimal growth.
Fertilizing
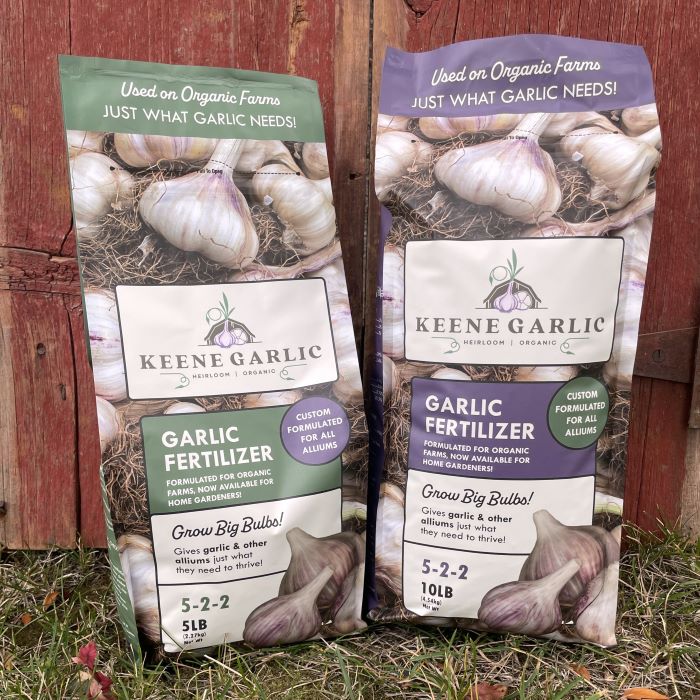
- It is recommended that you add a specialty fertilizer such as Keene Garlic’s Garlic Fertilizer (made for all alliums!) or an All-Purpose Fertilizer to the soil at the time of planting.
- If planting in the fall, resume fertilizing with a spring application.
- Fertilize again in early July. Discontinue fertilizing at this time so the shallots put more energy into growing big bulbs.
Harvesting
Your shallots are ready to harvest when you see the green tops begin to die back &/or fall over. They will need some time to cure in a dry, well-ventilated place to make them ready to store.
- Gently pull your shallots from the ground, taking care not to damage the bulbs.
- Brush off dirt & bring to a dry, shaded place with good ventilation.
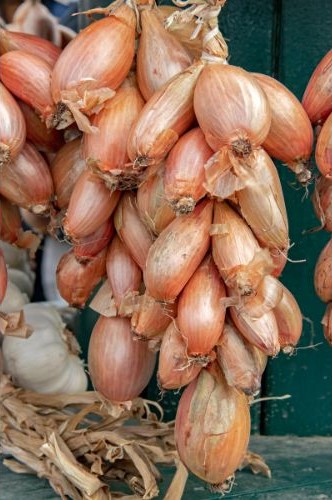
- Cure shallots for 2-3 weeks until all green tops are dried & tops of shallots are closed up. This is a good time to braid your shallots, if desired.
- If you did not braid the shallots, simply trim the tops off at about 2 inches and store in a netted bag or crate with good air flow in a cool, dry place until needed.
- Shallots, when cured properly, have a fantastic storage life. Check on them occasionally and use up any that begin to soften.
Enjoy Your Shallots!
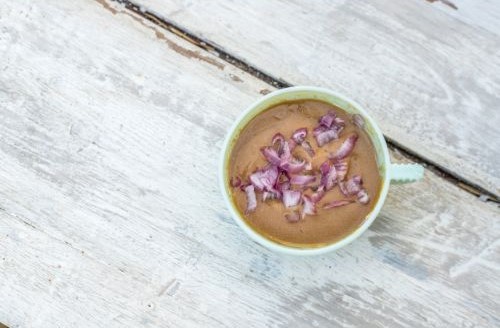
Here is one of our favorite simple ways to use shallots. Simply put all ingredients in a bowl and whisk. Alternatively, put ingredients in a small Mason jar & shake. Optional: Garnish with additional chopped shallots.
Classic Balsamic Vinaigrette
- 1-2 Shallots, minced
- 1/4 cup Olive Oil
- 1/4 cup Balsamic Vinegar
- 2 tsp. Dijon Mustard
- 1 tsp. Honey
- Sea Salt & Pepper to Taste
I planted shallots for the first time last Fall. I live in zone 5b (Chicago suburbs) and they are starting to flower. Do I cut them down like garlic scapes?
I too am in 5b – northern Pa and also a novice – my understanding is to cut those just like the scapes so the plants energy goes to developing the bulbs not the above ground growth. This is my first attempt at shallots -treat them much like the garlic plants. Good luck to both of us!
I tried shallots from Keene for the first time this spring. The stock they sent out was beautiful, so I am not faulting Keene. I am new at this. I planted them in raised beds, pretty much like I plant garlic. We are in central VA BTW. Well, the bulbs all sprouted but then they all died. I am not sure if we had a frost, but would a frost kill them all? I hope to try again this year.
Shallots can be a little more delicate, garlic is more hardy. If you wanted to try and plant shallots again, you could try to plant them in the fall so they can develop some nice roots before the winter and that might help the shallots from being sensitive to a late frost in the Spring since they will have some nice roots developed. We currently have Red and Dutch Yellow shallots for Fall Planting.
I live in northwestern Michigan and I planted the Red Shallots from Keene this spring, I didn’t have a whole lot of room left for them so I planted them kinda close together. I was surprised how well they grew.. they are really tasty. I ordered and received sets for fall planting and they are beautiful sets.
I have been growing garlic for many years and have been very successful. Planting hard neck garlic in the fall and harvesting in the summer, I live in north Jersey. This fall I planted grey shallots thinking that they would grow in a similar fashion as garlic, showing growth in the fall, mulch for the winter and harvest in the summer. Nothing sprouted. What did I do wrong?